HASSELBLAD - Hasselblad 555ELD Service Manual
 by HASSELBLAD
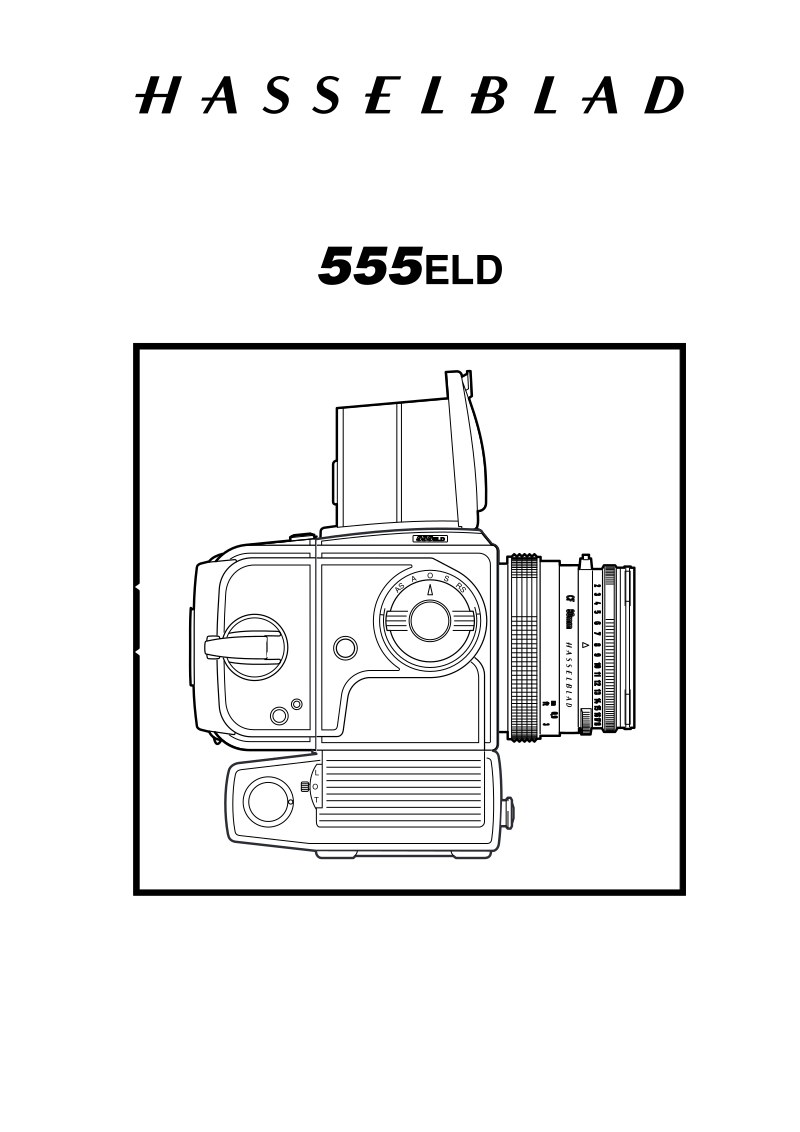
Comprehensive service manual for the Hasselblad 555ELD, a medium-format single lens reflex camera with integrated motor drive. This technical reference covers complete maintenance and repair procedures for this professional imaging equipment. The manual opens with general specifications detailing the one-piece cast aluminium alloy body with permanent magnesium motor housing, film format compatibility (6x6 cm and 6x4.5 cm), and integrated TTL/OTF flash metering capabilities. Essential sections address required service tools, systematic disassembly and reassembly instructions, and precision adjustment protocols including flash meter calibration. The document features approximately twenty detailed exploded-view diagrams illustrating all major assemblies: camera shell, motor housing, side walls, electronic components, rear plate, auxiliary shutter mechanism, front bayonet plate, mirror assembly, and film advance gearbox. Dedicated sections provide specific coverage of 553ELX and 500ELX variants, including their respective exploded views and unique electrical configurations. A specialized sub-assembly section focuses on the front bayonet plate and auxiliary shutter integration. Designed for professional service technicians and specialized repair personnel working with premium medium-format camera systems, this manual delivers the precise technical information required for accurate diagnosis, disassembly, maintenance, and restoration of Hasselblad camera bodies.
Table of Contents:
- Rea06.eps
- Dis16.eps
- May 1999
- Camera body 555ELD
- Reassembly
- Revision 0
- Front bayonet plate
- Before fitting the bayonet plate (30706-1) make sure
- the camera is released. This is done by turning gear
- (22476). Note that the pin "A" should be visible from
- the outside.
- Fig. 27.
- Fitting the front bayonet plate to the camera body:
- Tension the drive spring by turning the front gear
- wheel (30413) clockwise 3 turns.
- Fit in the lower part of the bayonet plate so that the
- check "C" on the front gear cam plate is stopped by
- the spring (22317). Ensure that the two indexes "A"
- and "B" are aligned opposite each other and that the
- upper part of the bayonet plate is put into position.
- Fig. 27.
- Secure the bayonet plate to the right hand wall using
- two screws (823015). Secure the bayonet plate to the
- bottom of the main camera body using two screws
- (823655). Refit the two screws (820015) to the rear
- of the bayonet plate.
- Fig. 28.
- Fig. 27
- Fig. 28
Documentation must be downloaded on a computer (PC, Mac, or Linux).
Do not use a smartphone or tablet to download documentation; they generally lack sufficient memory capacity to handle large files, and few users know how to locate the download folder on these devices.
Once downloaded, you can use it right away and even print the pages you need, or use your smartphone in photo mode to translate into the language of your choice: Google Translate
Document Details
- Format
- Pages
- 84
- Size
- 3.6 MB
- Category
- Photography